Why Artificial Grass Is a Smart DIY Project
Artificial grass has moved far beyond its early reputation as a purely decorative surface. Today, it’s widely used for family backyards, pet areas, play zones, and modern landscape designs. The appeal is simple: a consistently green lawn with minimal maintenance. However, achieving a natural-looking, long-lasting result depends less on the turf itself and more on how well it is installed. A carefully prepared base, proper drainage, and precise finishing work are what separate a professional-looking lawn from one that quickly develops bumps, wrinkles, or drainage problems.
Installing artificial grass yourself is entirely achievable if you approach it methodically. This guide walks through the process in a logical sequence, combining best practices into one clear, original framework designed for durability and visual quality.
Planning the Project Before You Start
Before picking up a shovel, it’s essential to think through the purpose and conditions of your space. Consider how the area will be used—whether for entertaining, children, pets, or purely aesthetic purposes. Each use case influences decisions such as turf type, infill material, and base depth.
Measure the area accurately and sketch a simple layout. This helps you calculate how much turf and base material you’ll need, while also planning seam placement to keep joins as invisible as possible. It’s also important to assess sunlight, slope, and drainage. A flat yard with poor drainage will require more preparation than a slightly sloped one where water can naturally run off.
Clearing and Excavating the Area
The first physical step is removing everything currently on the site. This includes grass, weeds, roots, rocks, and any debris. The goal is to start with a completely clean surface.
Excavation depth typically ranges between 70 mm and 100 mm. This depth allows space for a stable base layer and ensures the finished turf sits at the correct height relative to surrounding surfaces such as paving or decking. During excavation, take care to maintain a gentle slope—usually a slight gradient away from buildings—to assist with drainage.
Skipping or rushing this stage is one of the most common causes of future problems. Uneven excavation leads to uneven turf, and inadequate depth reduces the effectiveness of the base.
Installing a Weed Barrier
Once the ground is cleared and shaped, a weed barrier should be installed. This is typically a geotextile fabric laid across the entire area.
Its purpose is straightforward but essential: it prevents weeds from growing up through the artificial grass over time. Even though the turf itself blocks sunlight, some persistent weeds can still find their way through gaps if no barrier is present. The fabric also helps stabilize the soil beneath the base layer.
Make sure the barrier is laid flat without folds, and overlap edges slightly to ensure full coverage.
Building a Stable Base Foundation
The base layer is the most critical part of the installation. It determines how the turf will feel underfoot, how well it drains, and how long it will last.
A typical base consists of two layers:
- A compacted crushed rock layer (around 50–70 mm)
- A finer leveling layer, often sand or fine aggregate (around 10–20 mm)
Spread the crushed rock evenly across the area and compact it thoroughly using a plate compactor. This step cannot be done effectively by hand alone. Proper compaction eliminates air pockets and prevents the ground from shifting later.
After compacting the main base, add the finer layer on top. This layer allows you to smooth out minor imperfections and create a perfectly level surface. Lightly compact again to lock everything in place.
The finished base should feel firm and stable, not soft or spongy. Walking across it should not leave footprints or indentations.
Ensuring Proper Drainage
Drainage is often overlooked in DIY projects, yet it plays a major role in long-term performance. Artificial grass is permeable, meaning water can pass through it, but it still needs somewhere to go. A well-constructed base naturally allows water to drain through the crushed rock and into the soil below. However, in areas with heavy rainfall or clay soil, additional drainage solutions may be required. This could include installing a slight slope or incorporating drainage channels.
Testing drainage before laying the turf is a smart move. Pour water over the base and observe how it behaves. If water pools instead of dispersing, adjustments are needed.
Laying and Positioning the Turf
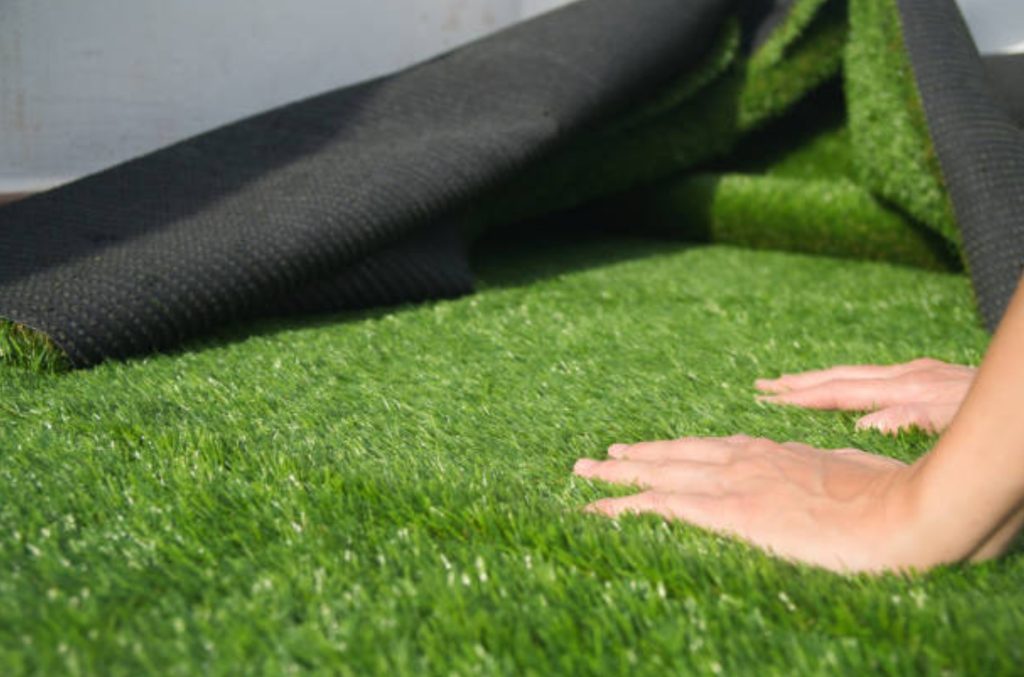
Once the base has been properly prepared and compacted, the artificial turf can be carefully rolled out across the area.
Take your time to position it correctly, ensuring it aligns with the edges and fits the layout before making any cuts or adjustments. This is where the project begins to look like a finished lawn. Unroll the turf and allow it to sit for a few hours. This helps it relax and reduces creases from being packaged. When positioning multiple pieces, ensure that all blades face the same direction. This detail is crucial for achieving a consistent, natural appearance. Take your time aligning the edges. Small adjustments at this stage make a big difference in the final look.
Cutting and Shaping the Grass
Artificial grass is designed to be trimmed to fit any space. Use a sharp utility knife to cut from the underside of the turf for greater precision. Follow the contours of your area carefully, whether you’re working around garden beds, pathways, or curved edges. Clean, accurate cuts help seams disappear and create a polished finish. Avoid cutting too quickly. It’s better to make gradual adjustments than to remove too much material at once.
Joining Multiple Sections Seamlessly
If your area requires more than one piece of turf, joining them correctly is essential. Badly done seams are among the most obvious defects in an artificial grass installation. Place the edges of the turf pieces side by side, ensuring the blades interlock naturally without overlapping. Fold back the edges and lay joining tape along the seam line. Apply adhesive evenly across the tape, then press the turf edges firmly into place. Give the adhesive enough time to fully cure before stepping on the surface. This ensures the bond remains strong and secure. When completed properly, the seam should be barely noticeable once the fibres are brushed into place.
Securing the Edges
After the turf is laid and joined, it needs to be secured around the perimeter. This prevents movement and keeps the surface taut. Use landscaping nails or stakes, placing them every 200–300 mm along the edges. In areas with heavy use, slightly closer spacing may be beneficial. The fasteners should be driven in firmly but not so deep that they distort the turf. Proper edge fixing ensures the grass remains stable over time, even with frequent foot traffic.
Adding Infill for Stability and Performance
Infill is a layer of material spread over the turf and brushed into the fibers.
It serves several important functions:
- Adds weight to keep the turf in place
- Helps blades stand upright
- Improves durability and resilience
Common infill materials include silica sand or specialized synthetic options. Spread the infill evenly across the surface and use a stiff broom or power brush to work it into the grass. This step transforms the turf from a flat surface into something that looks and feels more like natural grass.
Brushing and Final Grooming
The last step focuses on refining the look of the turf so it resembles natural grass as closely as possible.
Use a stiff broom to brush the fibres in the opposite direction of their lay, helping them stand upright and creating a fuller appearance. Take time to carefully inspect the entire surface. Look over the seams, edges, and any areas where sections meet, making sure everything is aligned and secure. If you notice uneven spots or minor flaws, correct them before finishing the job. When completed properly, the surface should feel solid underfoot, display a consistent colour and direction throughout, and show no obvious seams, folds, or irregularities.
Ongoing Maintenance for Long-Term Results
Although artificial grass requires far less maintenance than natural lawns, it still benefits from occasional care.
Clear away leaves, dirt, and other debris on a regular basis to maintain a tidy surface. Keeping the area free from buildup helps preserve both the appearance and performance of the turf. Brushing the turf periodically helps maintain its upright appearance, especially in high-traffic areas. If you have pets, rinsing the area with water can help keep it fresh. With minimal upkeep, a well-installed artificial lawn can maintain its appearance for many years.
Common Mistakes to Avoid Many
DIY installations fail not because of lack of effort, but because of small oversights. Here is list of the most regular mistakes ::
- Inadequate base preparation leading to uneven surfaces
- Skipping compaction, resulting in sinking or shifting
- Poor drainage planning causing water pooling
- Misaligned turf direction creating visible patches
- Rushed seam work leaving noticeable lines
Avoiding these issues comes down to patience and attention to detail at each stage.
Final Thoughts: Building It
Right from the Ground Up Installing artificial grass is not just about laying down a synthetic surface—it’s about constructing a stable, well-prepared foundation that supports it. Every step, from excavation to final brushing, contributes to the overall quality of the result. A successful DIY installation combines careful planning, proper materials, and disciplined execution. When done correctly, the outcome is a clean, durable, and visually appealing lawn that enhances your outdoor space without the ongoing demands of natural grass. If you approach the project with the right mindset—treating preparation as the priority rather than a shortcut—you can achieve a result that looks professional and performs reliably for years to come.

